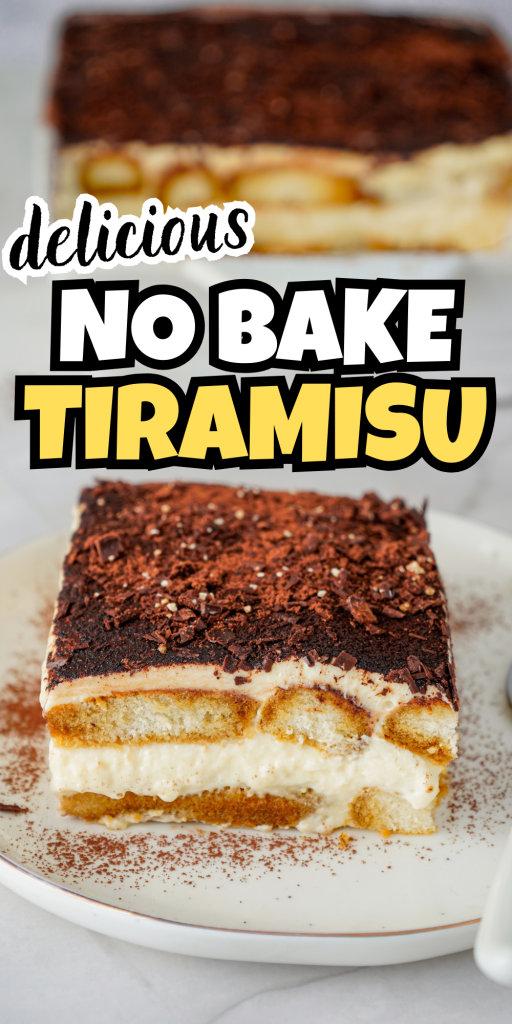
Classic No Bake Tiramisu Dessert With Ladyfingers
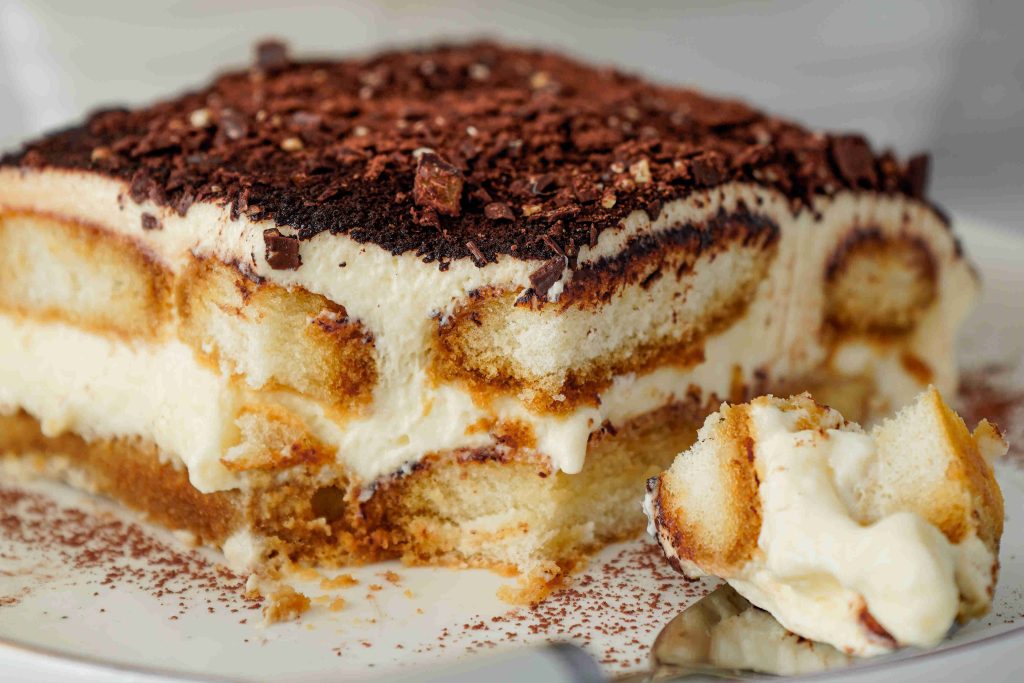
If you love espresso, cocoa, and that creamy mascarpone layer that somehow tastes fancy and comforting at the same time, this classic no bake tiramisu dessert is about to become your go to make-ahead treat. Grab your mascarpone and brew a strong coffee, then let’s layer this up and get it chilling.
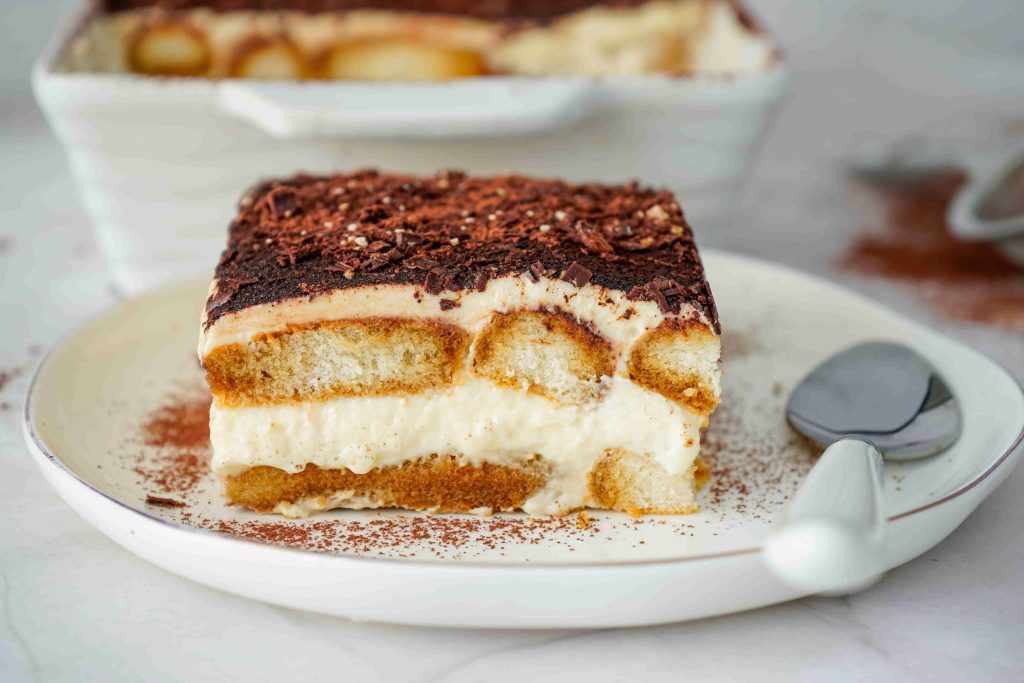
Why you’ll love this no bake tiramisu dessert
- Classic Italian dessert flavor (espresso plus cocoa plus mascarpone)
- Make-ahead friendly – it slices better after a long chill
- No oven and no complicated decorating
- Easy to scale for parties, and it always gets “who made this?” reactions
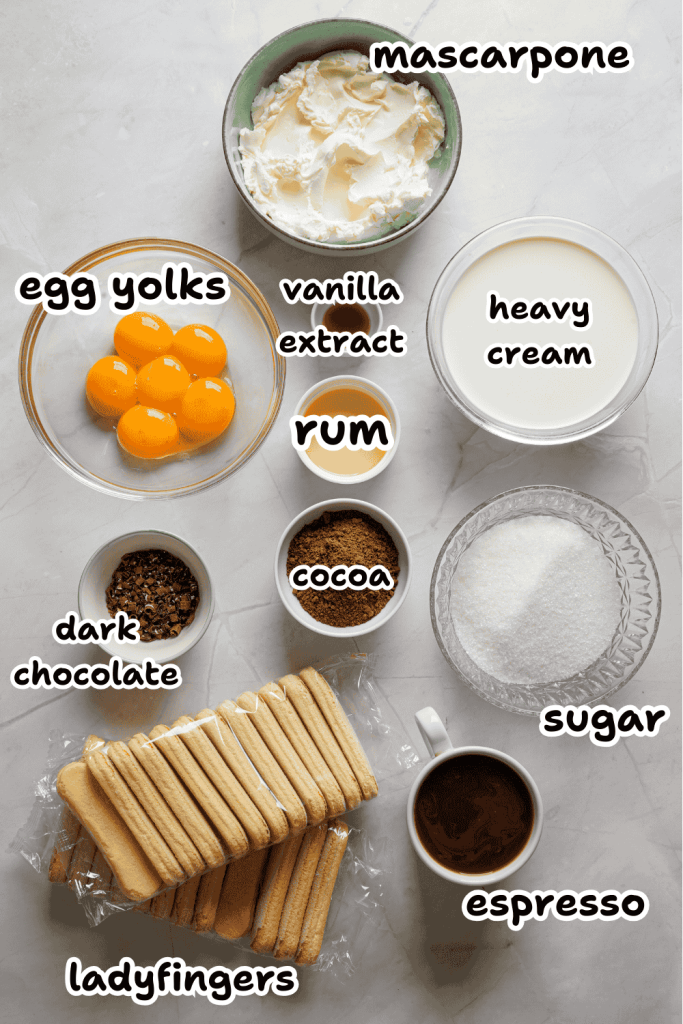
Ingredients you’ll need
For the cream layer
- 6 large egg yolks
- 1 cup granulated sugar (200 g)
- 1 1/4 cups mascarpone cheese, room temperature (280 g)
- 1 1/2 cups cold heavy cream (360 ml)
- 1 teaspoon vanilla extract (5 ml)
For dipping and layering
- 1 cup freshly brewed espresso, cooled to room temperature (240 ml)
- 2 tablespoons dark rum or coffee liqueur (30 ml), optional
- 24 ladyfingers (Savoiardi biscuits)
For finishing
- Unsweetened cocoa powder, for dusting
- Dark chocolate shavings, optional
Helpful equipment
- Medium heatproof bowl and saucepan for a double boiler
- Whisk
- Rubber spatula
- Hand mixer or stand mixer (for whipping cream)
- 9×9-inch dish (about 23×23 cm) or similar size
Foolproof tips before you start
These tiny prep steps make the whole dessert more reliable:
- Cool the espresso completely. Warm coffee can melt the cream mixture and make the tiramisu loose.
- Use cold heavy cream. It whips faster and holds its shape better.
- Let mascarpone soften briefly. About 20 to 30 minutes at room temp is perfect. Too cold can turn the mixture grainy when you stir.
- Keep your double boiler gentle. You want a light simmer, not a rolling boil.
Step-by-step:
1) Make the egg yolk and sugar base
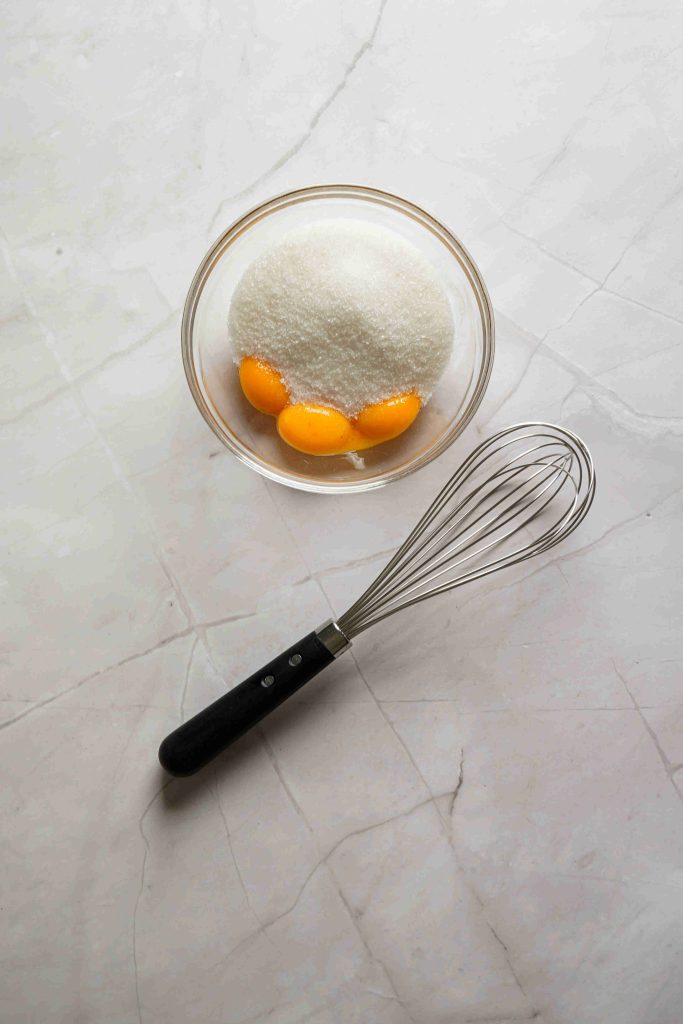
- In a medium heatproof bowl, whisk the egg yolks and sugar until smooth.
- Set the bowl over a saucepan of gently simmering water (the bowl should not touch the water). Whisk constantly for 5 to 7 minutes, until the mixture looks thicker, lighter in color, and a bit glossy. If you want the most foolproof result, heat the mixture to 160°F (71°C) while whisking. It thickens beautifully and gives extra peace of mind.
- Remove from heat and let it cool for a few minutes so it’s warm, not hot.
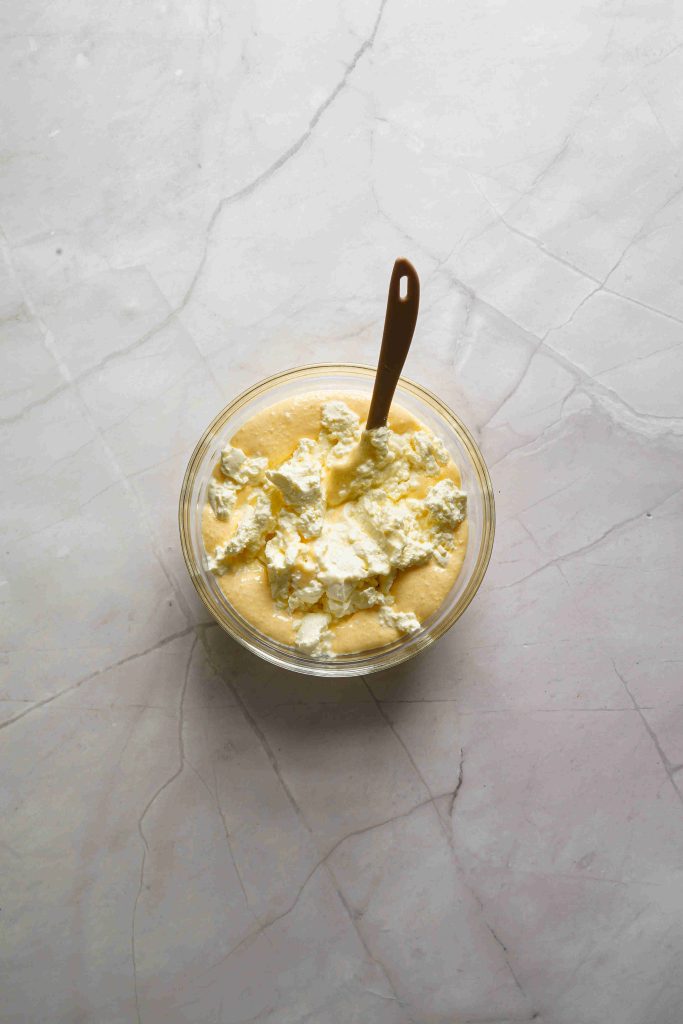
2) Gently fold in mascarpone
Add the room temperature mascarpone and fold it in gently until smooth.
Tip: Mascarpone can go grainy if you overmix it. Fold until combined, then stop.
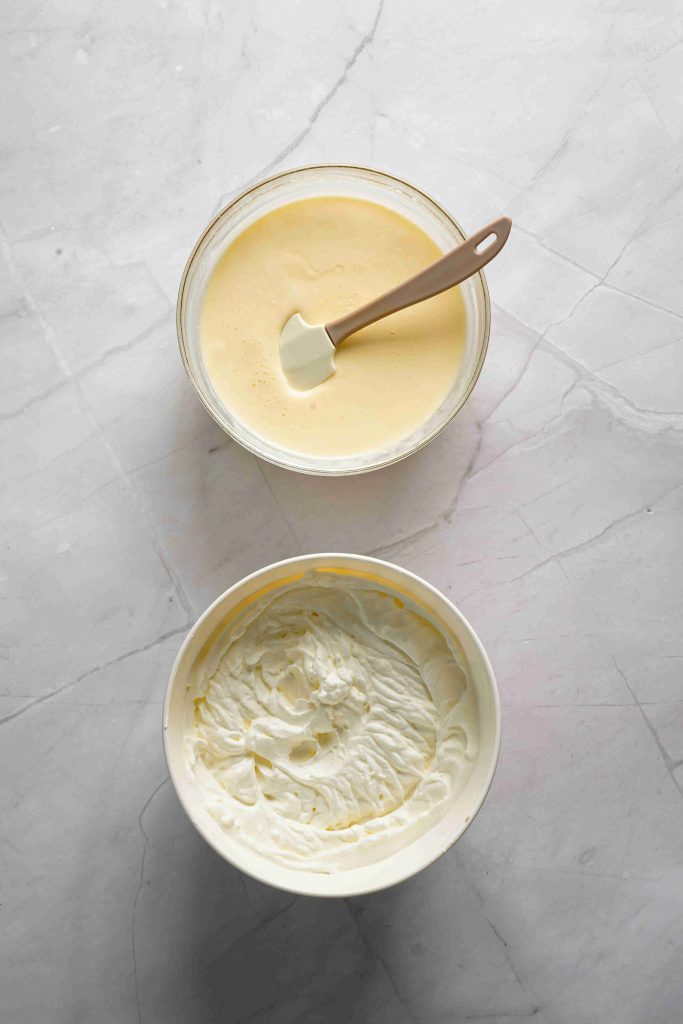
3) Whip the cream to stiff peaks
In a separate bowl, whip the cold heavy cream and vanilla extract until stiff peaks form.
Stiff peaks means the cream stands up when you lift the whisk, but it still looks smooth. If it starts looking clumpy, you’ve gone a little too far.
4) Combine into a fluffy mascarpone cream
Fold the whipped cream into the mascarpone mixture in two additions.
Easy technique: Fold in about a third first to lighten the mixture, then fold in the rest. Use slow, big strokes and stop when you no longer see streaks.
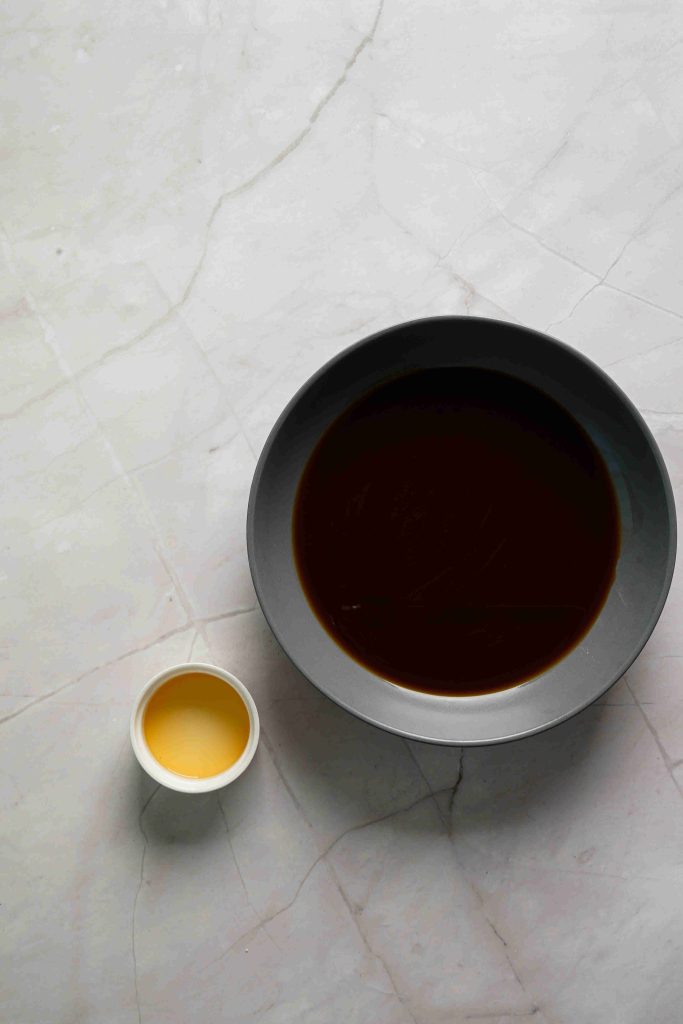
5) Mix the espresso dip
In a shallow dish, combine the cooled espresso with rum or coffee liqueur, if using.
Strong espresso gives you that true tiramisu taste. If your coffee is on the mild side, brew it extra strong.
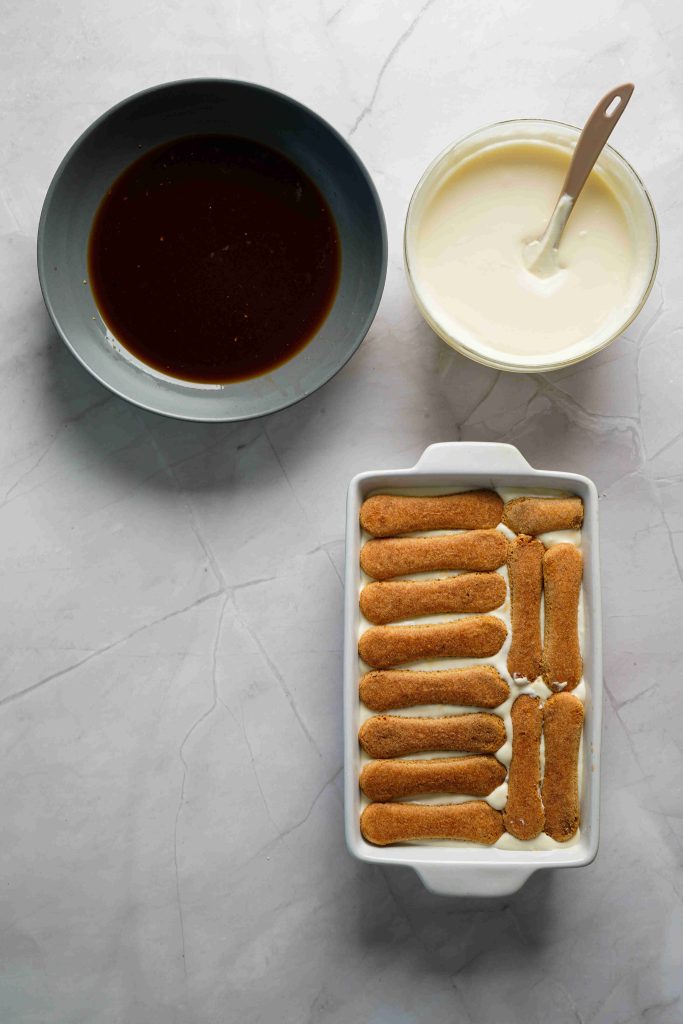
6) Dip the ladyfingers fast
Quickly dip each ladyfinger into the espresso mixture, then place in a single layer in the bottom of a 9×9-inch (23×23 cm) dish.
A quick dip is enough. About 1 second per side (or a quick roll) keeps the ladyfingers from turning soggy after chilling.
7) Layer it up
Spread half of the mascarpone cream over the ladyfingers. Add a second layer of dipped ladyfingers, then spread the remaining mascarpone cream on top.
Use the back of a spoon or an offset spatula to smooth the top. A neat top makes cocoa dusting look extra pretty.
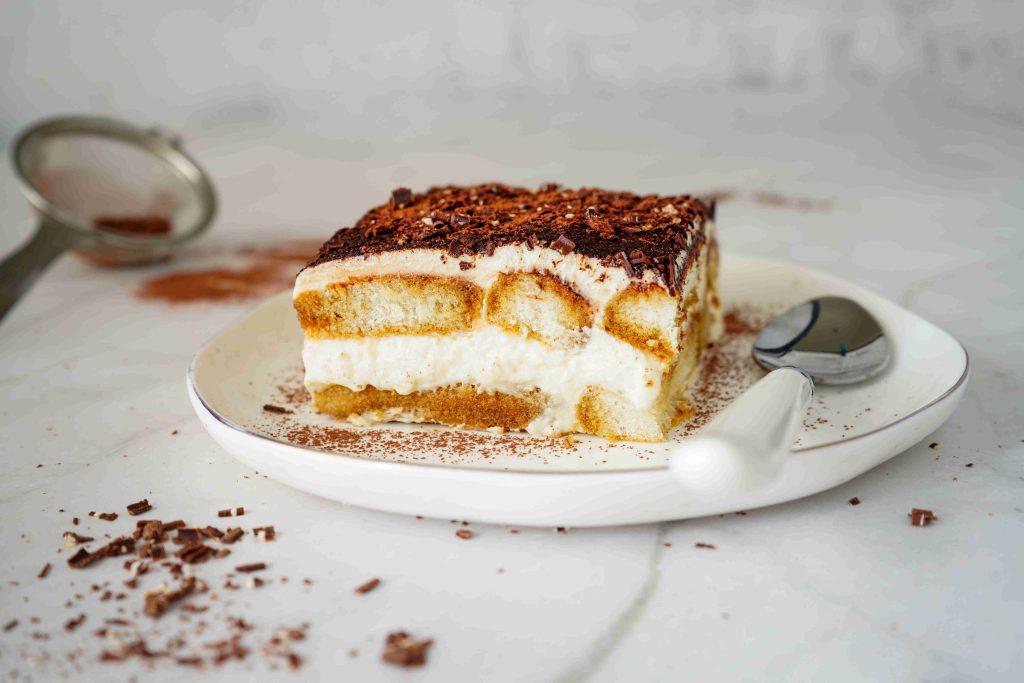
8) Chill, then finish
Cover and refrigerate for at least 4 hours, or overnight for the cleanest slices.
Right before serving, dust generously with unsweetened cocoa powder. Add dark chocolate shavings if you want the extra wow factor.
Cocoa looks best when added right before serving. If it sits too long, it can darken and look a bit damp.
Make-ahead and storage
- Best make-ahead window: Make it the night before for the best texture.
- Storage: Keep covered in the fridge for up to 3 days.
- Slicing tip: Use a sharp knife dipped in hot water, wipe dry, then slice. Repeat between cuts for clean edges.
Easy variations (still classic)
- Alcohol-free: Skip the rum or liqueur and keep it all espresso.
- Extra chocolate: Add a light sprinkle of shaved chocolate between layers.
- More coffee flavor: Use slightly less cream on the top layer and a touch more espresso for dipping, just keep the dips quick.
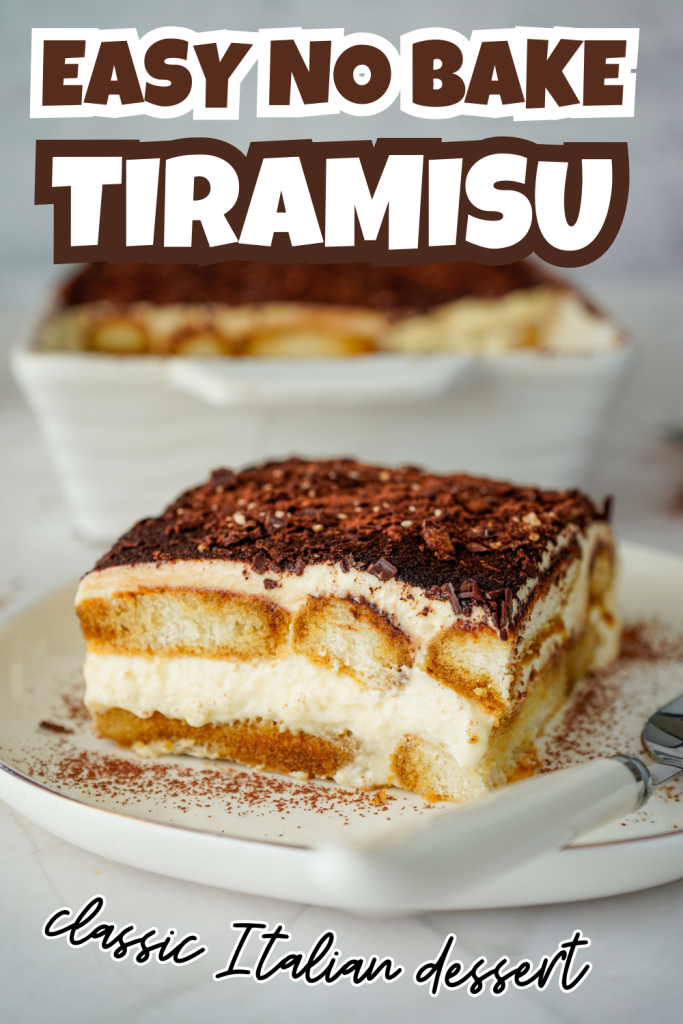
This classic no bake tiramisu dessert is one of those recipes that feels special without being fussy, and it gets even better after a good overnight chill. If you make it, dust it with cocoa right before serving and enjoy that first creamy, coffee-soaked bite.

Classic No Bake Tiramisu Dessert With Ladyfingers
Equipment
- Medium heatproof bowl and saucepan for a double boiler
- whisk
- Rubber spatula
- Hand mixer or stand mixer (for whipping cream)
- 9×9-inch dish (about 23×23 cm) or similar size
Ingredients
Mascarpone Cream
- 6 large egg yolks
- 1 cup granulated sugar 200 g
- 1 1/4 cups mascarpone cheese room temperature (280 g)
- 1 1/2 cups heavy cream cold (1 1/2 cups, 360 ml)
- 1 teaspoon vanilla extract 1 tsp, 5 ml
Coffee Dip
- 1 cup freshly brewed espresso cooled to room temperature (1 cup, 240 ml)
- 2 tablespoons dark rum or coffee liqueur optional (2 tbsp, 30 ml)
For Assembly
- 24 ladyfingers Savoiardi biscuits
- Unsweetened cocoa powder for dusting
- Dark chocolate shavings optional
Instructions
- Make the yolk mixture: In a heatproof bowl, whisk egg yolks and sugar until smooth. Set over a saucepan of gently simmering water (double boiler), making sure the bowl does not touch the water. Whisk constantly for 5 to 7 minutes until thickened and glossy. Remove from heat and cool for a few minutes (warm, not hot).
- Add mascarpone: Gently fold in mascarpone until smooth. Do not overmix.
- Whip the cream: In a separate bowl, whip cold heavy cream and vanilla to stiff peaks.
- Fold the cream in: Fold whipped cream into the mascarpone mixture in two additions until just combined and fluffy.
- Mix the coffee dip: In a shallow dish, combine cooled espresso with rum or coffee liqueur (if using).
- Dip ladyfingers: Quickly dip each ladyfinger (about 1 second per side) and arrange in a single layer in a 9×9-inch dish (23×23 cm).
- Assemble: Spread half of the mascarpone cream over the ladyfingers. Repeat with another layer of dipped ladyfingers, then spread remaining cream on top.
- Chill: Cover and refrigerate at least 4 hours, or overnight for best slicing.
- Finish: Dust with cocoa powder right before serving. Top with dark chocolate shavings if desired.
Notes
- Cool espresso completely so the cream stays stable.
- Dip ladyfingers quickly to prevent sogginess.
- For clean slices, use a sharp knife dipped in hot water, wipe dry, then cut.