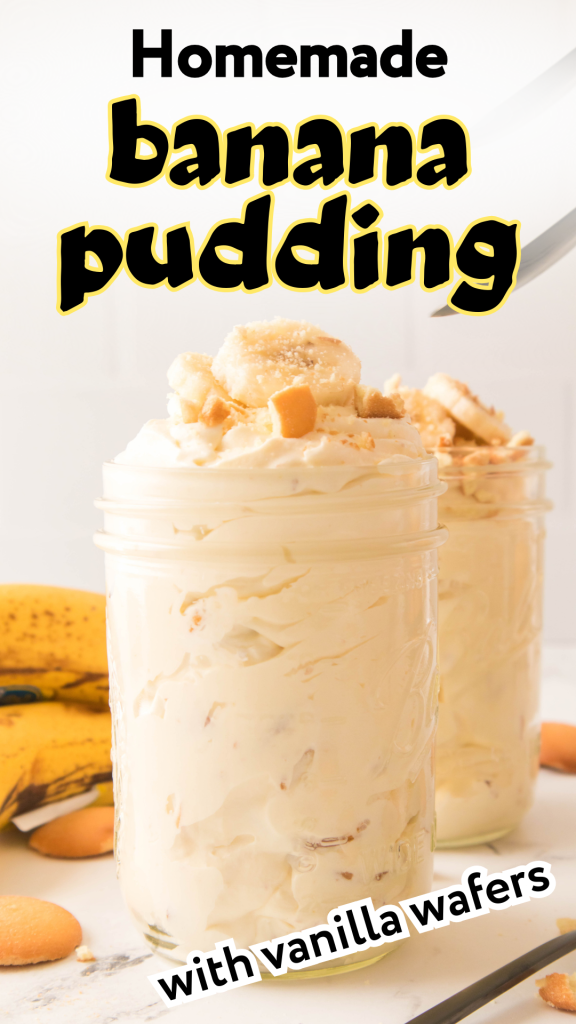
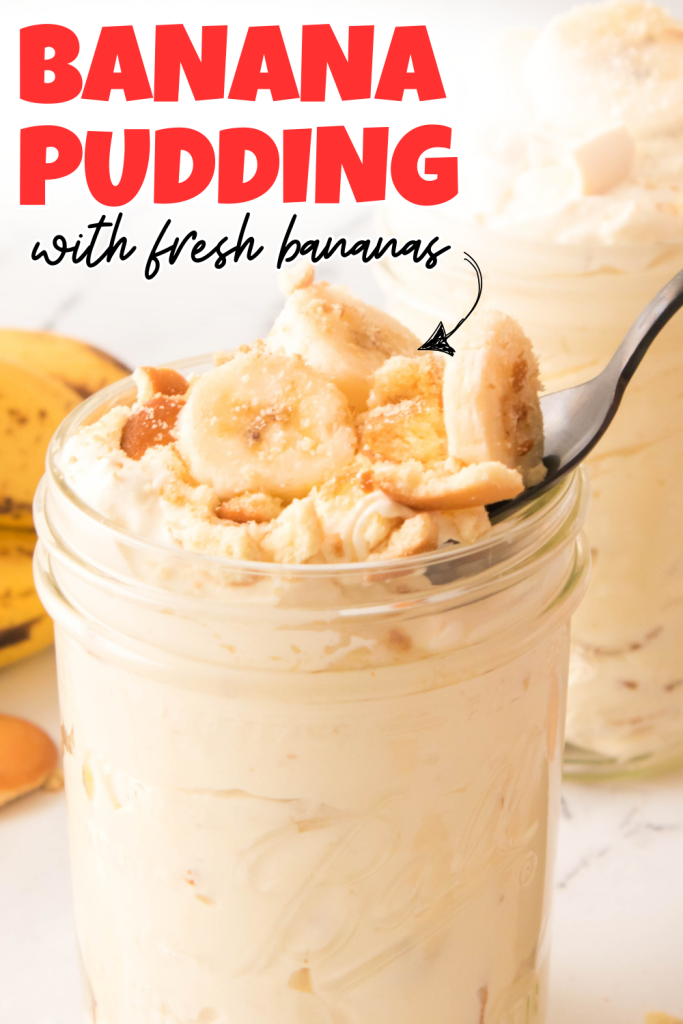
Easy banana pudding with bananas and vanilla wafers
This easy banana pudding is creamy, fluffy and full of real banana flavor with that classic vanilla wafer crunch. It comes together in just a few minutes, then chills in the fridge until everyone is ready for dessert. Grab a mixing bowl and a whisk, and let’s make a quick batch of comfort in a bowl.
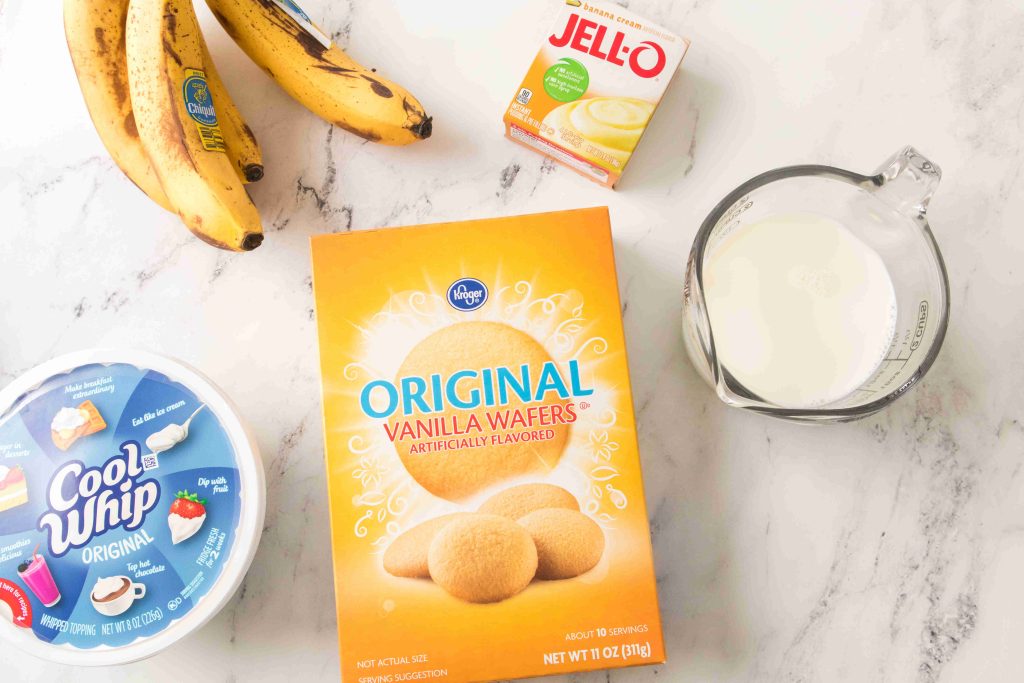
Ingredients
Makes about 6 servings.
- 1 box instant banana pudding mix, 3.5 oz (about 100 g)
- 1 1/2 cups cold milk (about 360 ml), whole or 2 percent
- 1 container of Cool Whip, 8 oz (about 225 g), thawed in the fridge
- 2 cups vanilla wafers, crushed (about 480 ml volume or roughly 180 to 200 g)
- 2 medium bananas, sliced
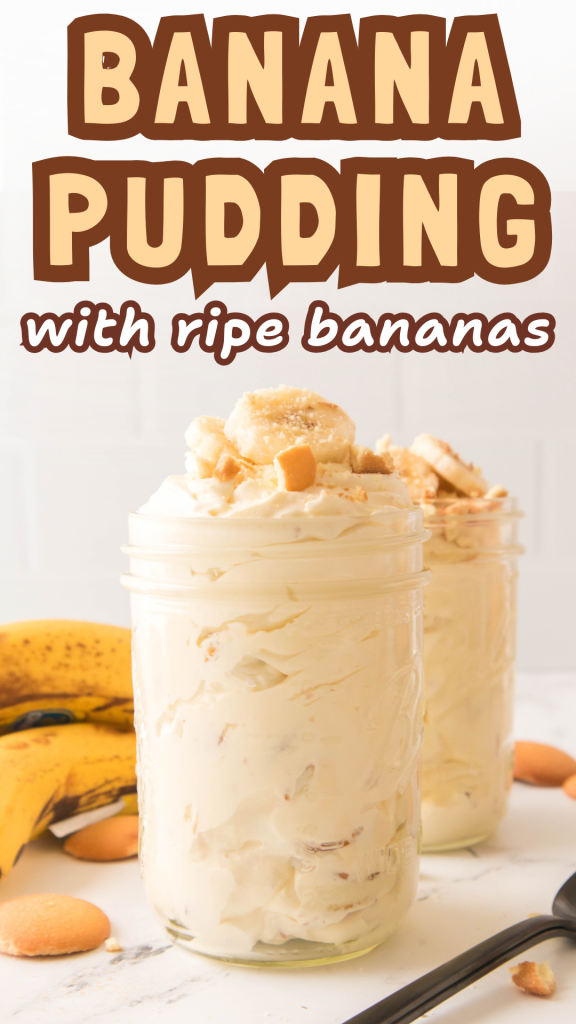
Choose ripe but not mushy bananas. A few brown speckles on the peel are perfect. Very spotty bananas can make the pudding look gray and taste overly sweet.
For serving and garnish (optional but tasty):
- A little extra whipped topping
- Extra banana slices
- Extra crushed vanilla wafers
Step by step instructions
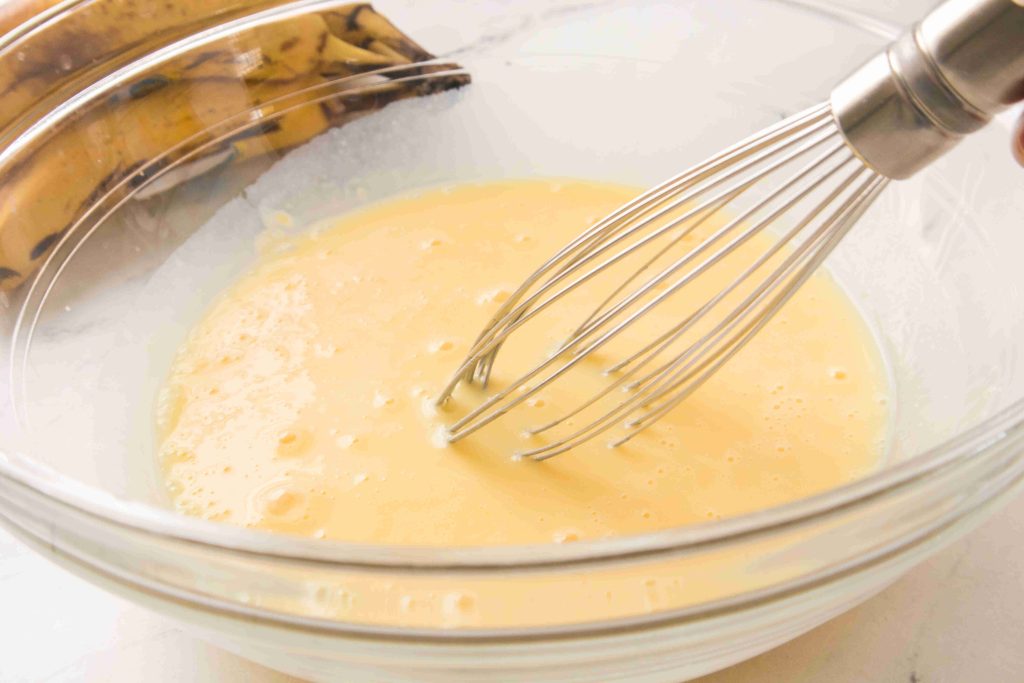
1. Mix the pudding
- In a large mixing bowl, add the instant banana Add the instant banana pudding mix to a large mixing bowl.
- Pour in the cold milk. Cold milk is important here. Warm milk can leave the pudding runny.
- Whisk for about 2 minutes, until the mixture is smooth and starting to thicken. A hand whisk works perfectly, no mixer needed.
- Let it sit for another 5 minutes so it can fully set and become nice and thick.
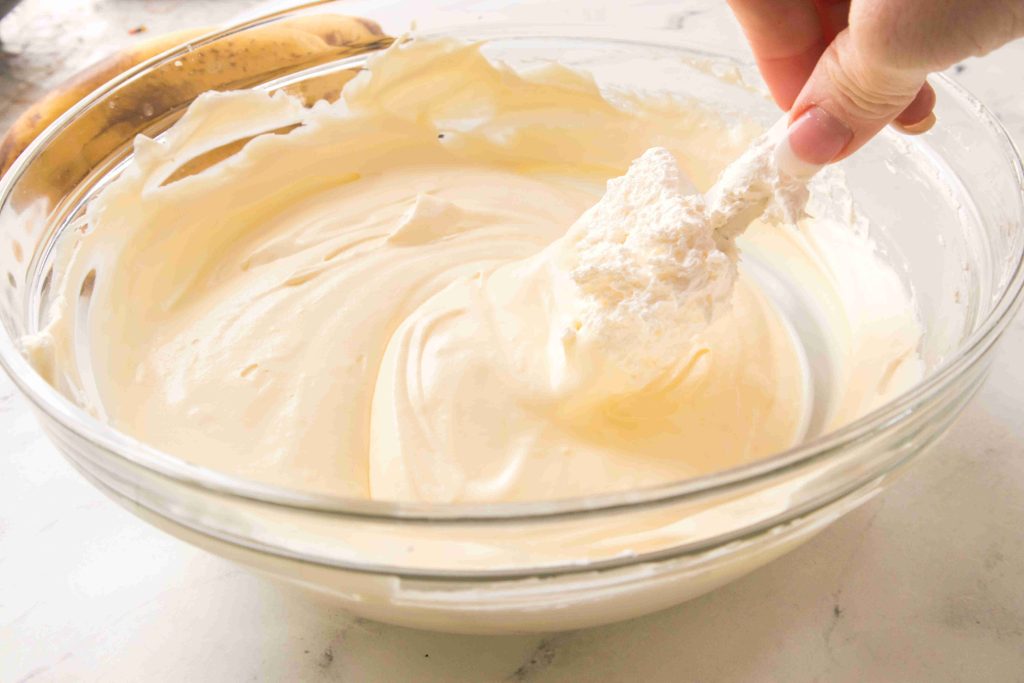
2. Fold in the Cool Whip
- Once the pudding has thickened, add the thawed Cool Whip.
- Use a rubber spatula to gently fold it in. Slide the spatula down the side of the bowl, scoop along the bottom and lift up, turning the pudding over the whipped topping. Repeat until the mixture is smooth and evenly combined.
Tips:
- Folding instead of stirring keeps the mixture fluffy and thick.
- Scrape around the sides and bottom so there are no streaks of plain pudding left.
- If the mixture feels a little thin, pop the bowl into the fridge for 10 to 15 minutes before adding the bananas and wafers.
3. Prepare bananas and crushed wafers
- Just before you are ready to assemble the pudding, slice the bananas into coins. Aim for slices about 0.5 cm thick.
- Place the vanilla wafers in a zip top bag and crush them with a rolling pin or the bottom of a glass. You want a mix of fine crumbs and small chunks.
Tips:
- For a make ahead version, you can lightly toss the banana slices with 1 to 2 teaspoons of lemon juice or pineapple juice to slow browning.
- Hold back about 1/4 to 1/2 cup of the crushed wafers for topping if you like extra crunch on top.
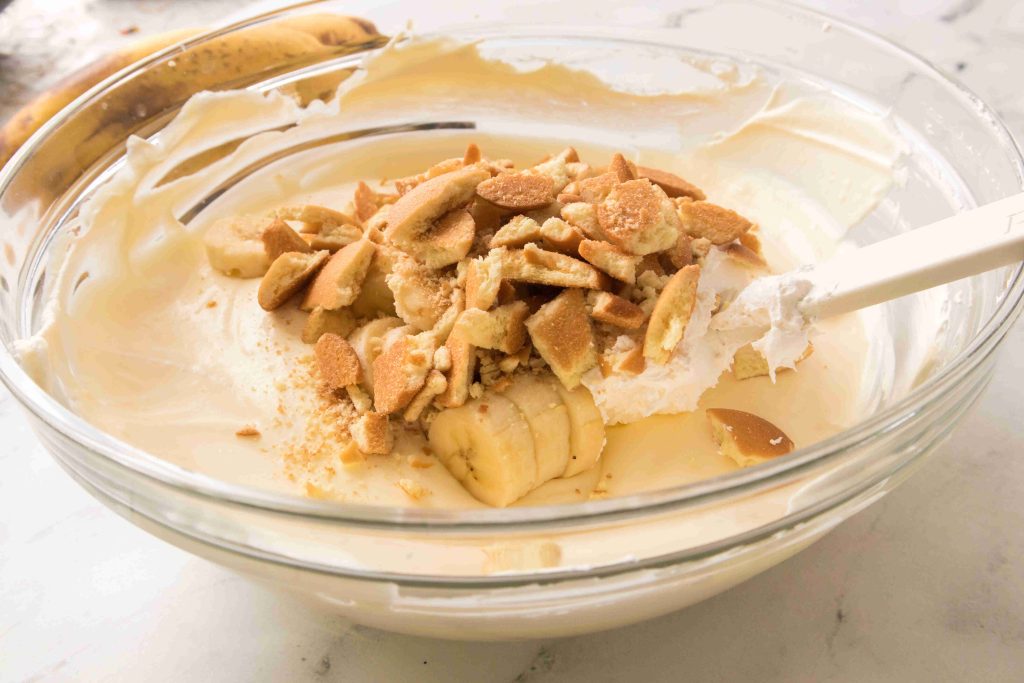
4. Fold everything together
- Add the sliced bananas to the pudding mixture. Gently fold them in with the spatula so they are evenly distributed.
- Add the crushed vanilla wafers and fold again until everything looks well mixed.
Tips:
- Be gentle so the bananas stay in slices and the wafers do not turn into paste.
- If you plan to chill the dessert for several hours, you can fold in only half of the bananas and save the rest for topping right before serving. This keeps some of the banana slices extra fresh and pretty on top (make sure to toss them with lemon or pineapple juice if you do this).

5. Chill and serve
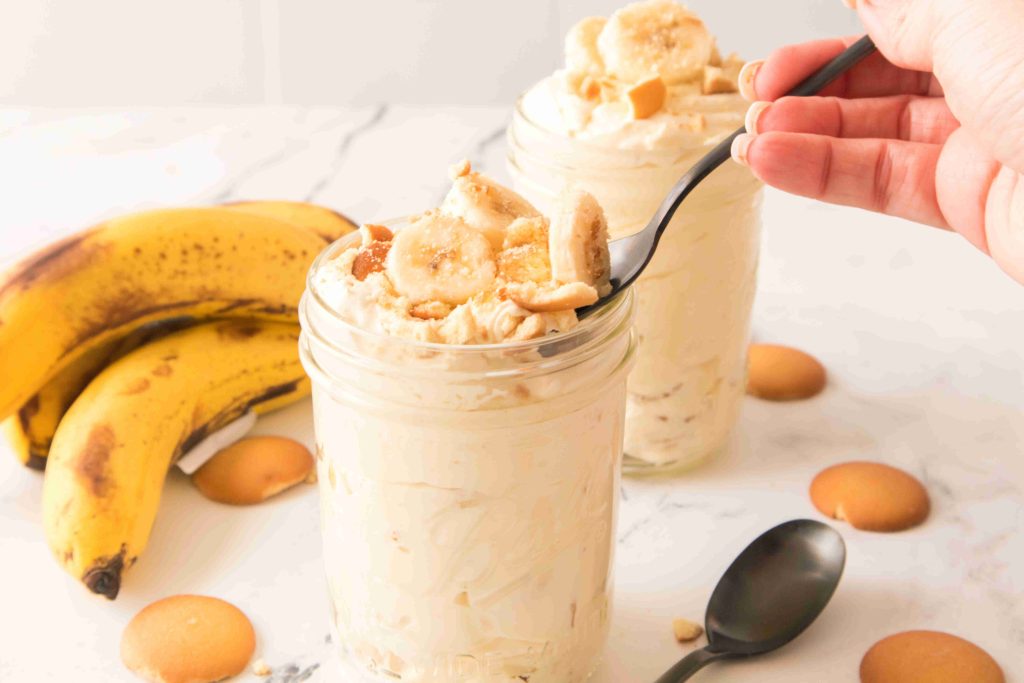
- Transfer the banana pudding to a serving dish or individual dessert cups.
- Press a piece of plastic wrap directly on the surface of the pudding. This helps prevent a skin and slows banana browning.
- Chill in the fridge for at least 1 hour before serving so the flavors can meld and the texture can firm up.
- When you are ready to serve, remove the plastic wrap and top with extra banana slices, the reserved crushed wafers and a little extra whipped topping if you like.
Tips:
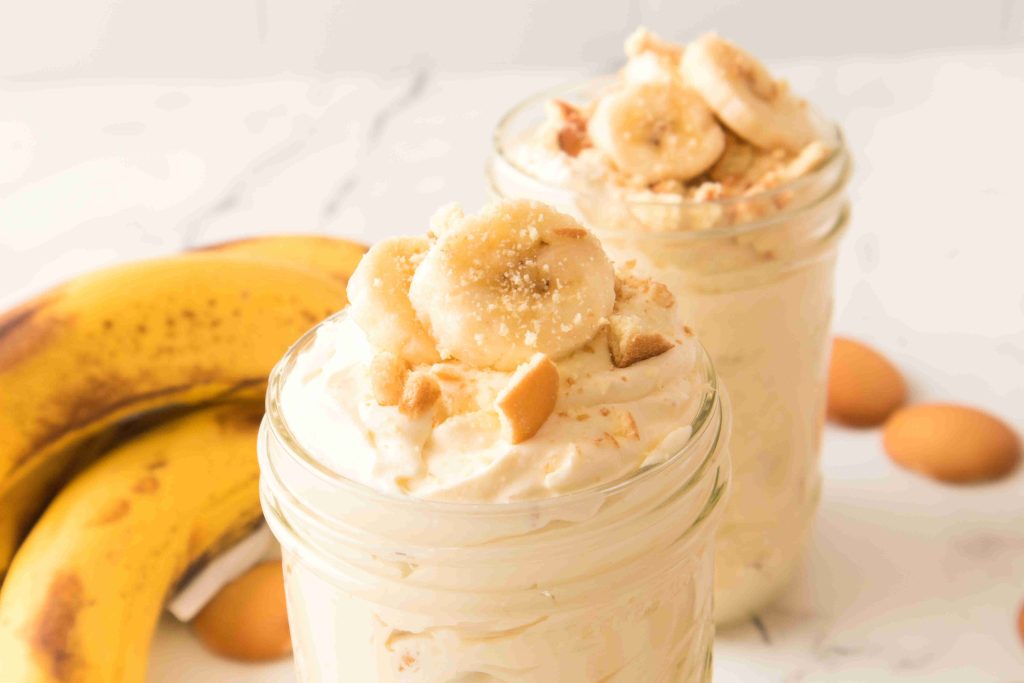
- For potlucks or parties, use a clear glass dish so you can see the layers and texture.
- If you are making it in advance, add fresh banana slices and wafer crumbs on top just before serving so they stay bright and crisp.
Storage tips:
- Store any leftovers in an airtight container in the fridge.
- For the best texture and color, enjoy within 24 hours.
- After about 2 days the bananas soften and darken.
This easy banana pudding with bananas and vanilla wafers is one of those desserts that disappears fast on any dessert table. Save this recipe so you can whip it up whenever you need a quick, nostalgic treat.
Easy banana pudding with bananas and vanilla wafers
Ingredients
- 1 box instant banana pudding mix 3.5 oz (about 100 g)
- 1 1/2 cups cold milk about 360 ml, whole or 2 percent
- 1 container Cool Whip 8 oz (about 225 g), thawed in the fridge
- 2 cups vanilla wafers crushed (about 480 ml volume or roughly 180 to 200 g)
- 2 medium bananas sliced
For serving and garnish (optional):
- A little extra whipped topping
- Extra banana slices
- Extra crushed vanilla wafers
Instructions
Mix the pudding
- In a large mixing bowl, add the instant banana Add the instant banana pudding mix to a large mixing bowl.
- Pour in the cold milk. Cold milk is important here. Warm milk can leave the pudding runny.
- Whisk for about 2 minutes, until the mixture is smooth and starting to thicken. A hand whisk works perfectly, no mixer needed.
- Let it sit for another 5 minutes so it can fully set and become nice and thick.
Fold in the Cool Whip
- Once the pudding has thickened, add the thawed whipped topping.
- Use a rubber spatula to gently fold it in. Slide the spatula down the side of the bowl, scoop along the bottom and lift up, turning the pudding over the whipped topping. Repeat until the mixture is smooth and evenly combined.
- If the mixture feels a little thin, pop the bowl into the fridge for 10 to 15 minutes before adding the bananas and wafers.
Prepare bananas and crushed wafers
- Just before you are ready to assemble the pudding, slice the bananas into coins. Aim for slices about 0.5 cm thick.
- Place the vanilla wafers in a zip top bag and crush them with a rolling pin or the bottom of a glass. You want a mix of fine crumbs and small chunks.
- For a make ahead version, you can lightly toss the banana slices with 1 to 2 teaspoons of lemon juice or pineapple juice to slow browning.
- Hold back about 1/4 to 1/2 cup of the crushed wafers for topping if you like extra crunch on top.
Fold everything together
- Add the sliced bananas to the pudding mixture. Gently fold them in with the spatula so they are evenly distributed.
- Add the crushed vanilla wafers and fold again until everything looks well mixed.
- If you plan to chill the dessert for several hours, you can fold in only half of the bananas and save the rest for topping right before serving. This keeps some of the banana slices extra fresh and pretty on top (make sure to toss them with lemon or pineapple juice if you do this).
Chill and serve
- Transfer the banana pudding to a serving dish or individual dessert cups.
- Press a piece of plastic wrap directly on the surface of the pudding. This helps prevent a skin and slows banana browning.
- Chill in the fridge for at least 1 hour before serving so the flavors can meld and the texture can firm up.
- When you are ready to serve, remove the plastic wrap and top with extra banana slices, the reserved crushed wafers and a little extra whipped topping if you like.
Notes
Tips:
For potlucks or parties, use a clear glass dish so you can see the layers and texture. If you are making it in advance, add fresh banana slices and wafer crumbs on top just before serving so they stay bright and crisp.Storage:
Store any leftovers in an airtight container in the fridge. For the best texture and color, enjoy within 24 hours. After about 2 days the bananas soften and darken.