Silky Vegan Caramel Sauce Recipe for Drizzling on Everything
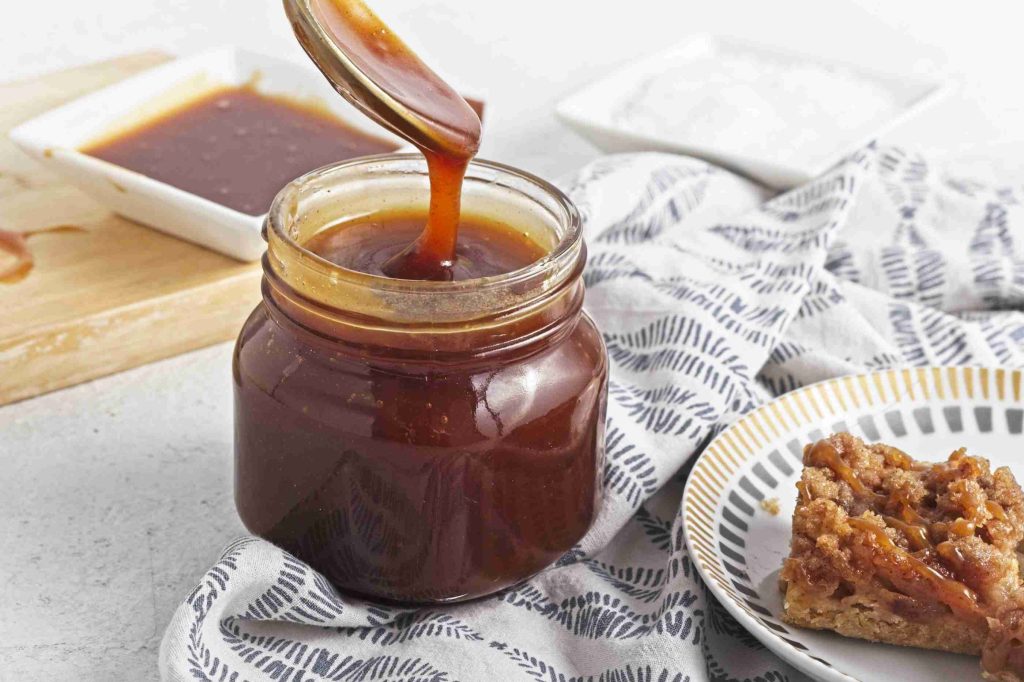
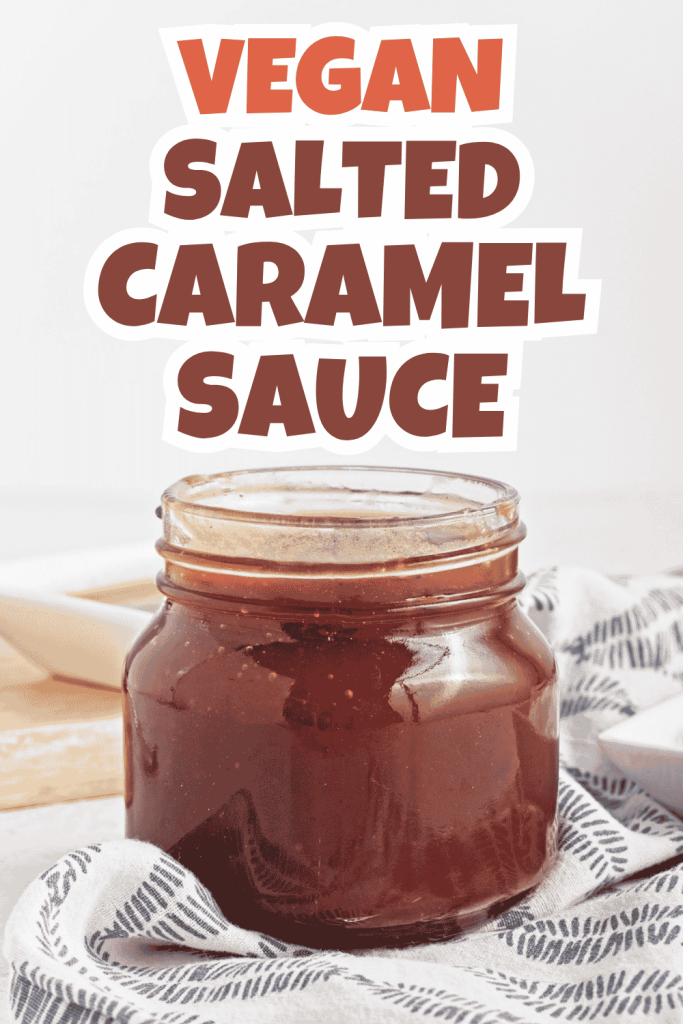
This caramel is glossy enough to see your reflection in, and there’s not a splash of cream or a stick of butter anywhere near it. Coconut cream and real caramelized sugar make this vegan caramel sauce recipe work – no candy thermometer, no corn syrup, just fifteen minutes on the stove. Grab a heavy-bottomed pan and let’s make it!
Why You’ll Love This Recipe
- Made the traditional way, with real caramelized sugar, not a blended date or nut butter shortcut
- No candy thermometer required – just a color to watch for
- Only six pantry staples – nothing exotic to track down
- The coconut flavor fades into the background once vanilla, salt, and a little cinnamon balance it out
- Keeps in the fridge for two weeks, so one batch goes a long way
- Vegan, dairy-free, gluten-free, and soy-free, and it still tastes like real caramel, not a substitute
When You’ll Reach for This Jar
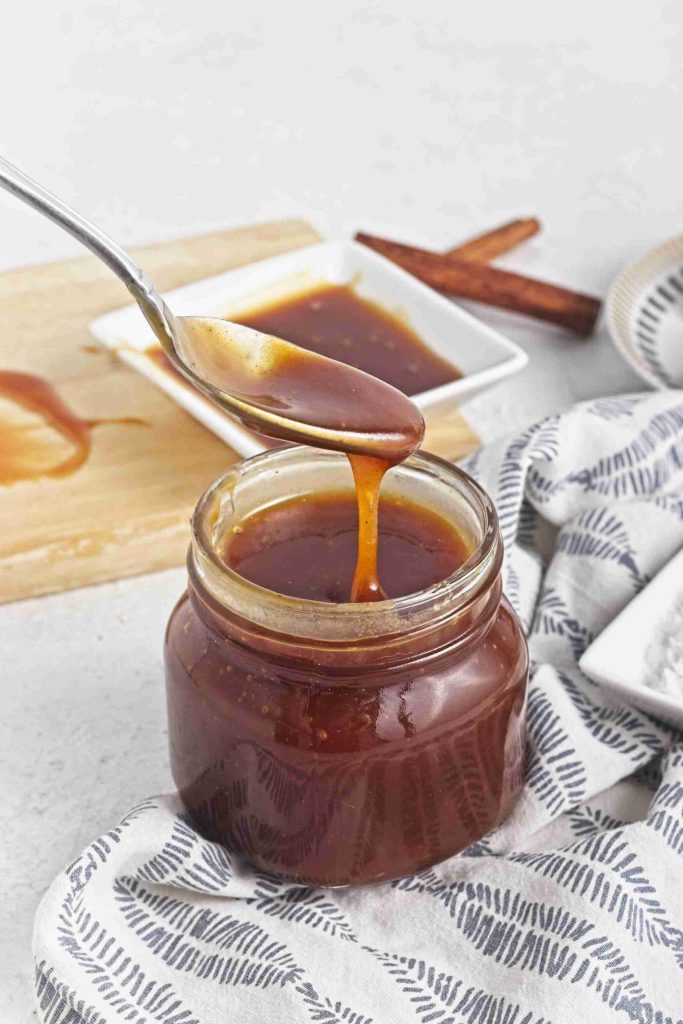
This is the kind of jar that keeps getting taken out of the fridge for weekday coffee that needs something extra, a Sunday pancake stack, or an afternoon when apple slices and a good dip sound better than anything from a bag.
Warm it over ice cream on a hot afternoon, stir it into apple crisp once the air turns cool, or spoon it into hot chocolate when the holidays roll around. Drizzle it over pancakes on a regular Tuesday, or tuck a jar into a gift basket come December.
This dairy free caramel sauce leans on coconut cream and coconut oil in place of butter and heavy cream, and it’s naturally gluten-free and soy-free besides that, so it fits a lot of diets naturally without stressing your guests over what’s in it.
Ingredients
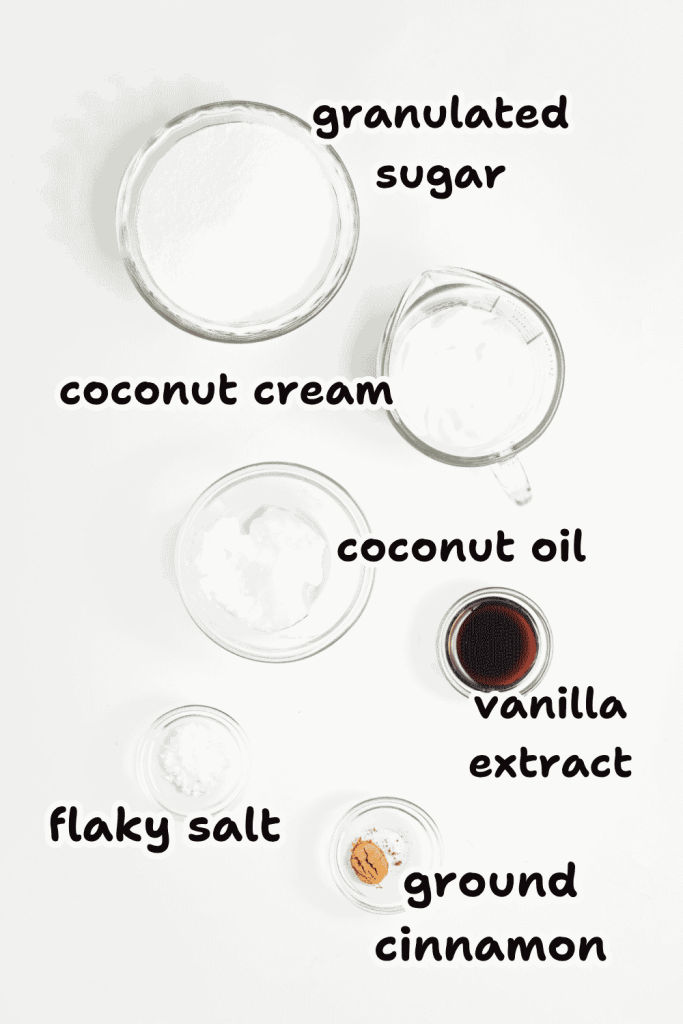
Six ingredients, all pantry or fridge staples once you’ve got a can of coconut milk chilling.
- 1 cup (200g) granulated sugar
- 2 tablespoons (30ml) coconut oil
- ½ cup (120ml) coconut cream (see notes below)
- 1 teaspoon (3g) flaky sea salt, plus more if you like it saltier
- 2 teaspoons (10ml) vanilla extract
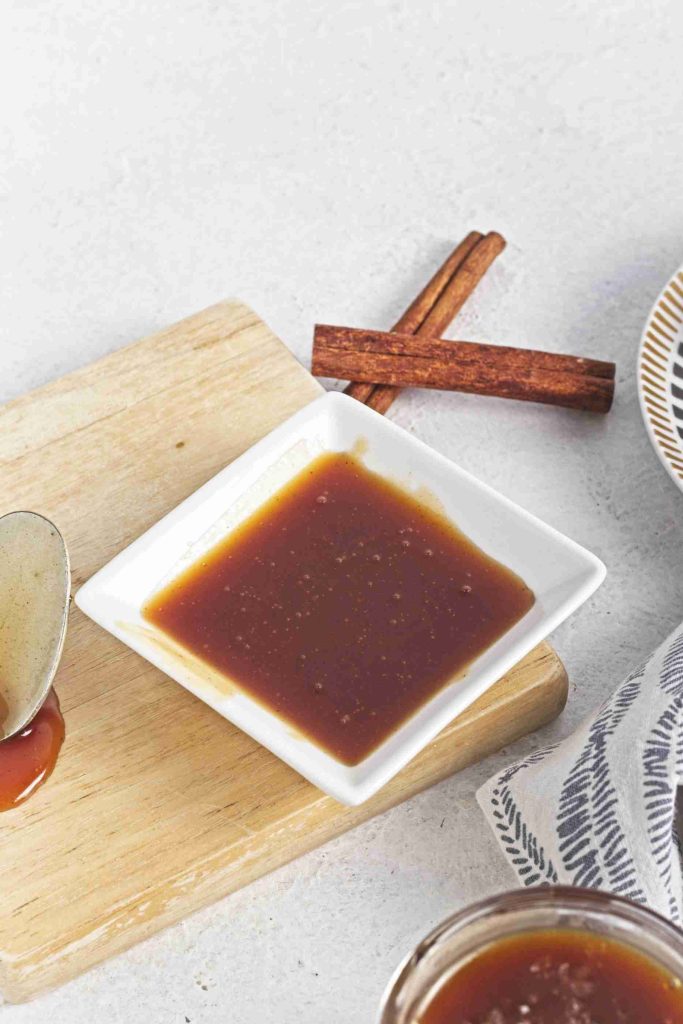
- ¼ teaspoon (0.5g) ground cinnamon
A quick note on the coconut cream, since this trips people up: chill a can of full-fat coconut milk overnight (skip the kind with emulsifiers added), then open it without shaking or inverting it. Scoop off the thick solid layer on top and that’s your coconut cream! You can save the watery liquid underneath for a smoothie. A can of coconut cream on its own does the same job if you’d rather skip that step.
I use a full 2 teaspoons of vanilla and a small pinch of cinnamon here, and neither is just a random ingredients. Both are doing real work balancing the coconut flavor so it reads as caramel first and coconut a distant second, if you notice it at all.
Step-by-Step Instructions
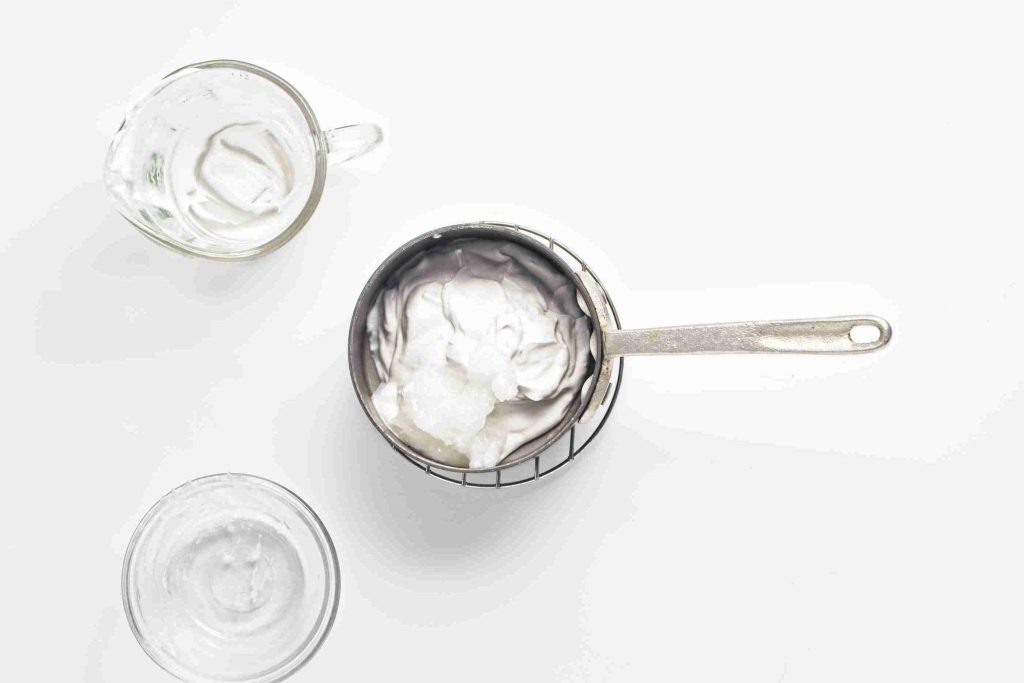
1. Warm the coconut fats.
Combine the coconut oil and coconut cream in a small pan and warm gently over low heat, just until no longer cold. Set aside.
2. Melt the sugar.
Spread the sugar in an even layer across a medium, heavy-bottomed saucepan. Heat over medium until it just starts to melt at the edges, then drop to medium-low. This is the step that decides whether your caramel turns out smooth or grainy. Stir gently to redistribute the sugar as it melts, but keep your stirring contained to the sugar that’s actually melting. Crystals stuck to the side of the pan, getting pulled back into the melted part, are exactly what seizes a whole batch into a grainy mess. It takes several minutes and can go from perfect to burnt fast, so keep an eye on it at all times.
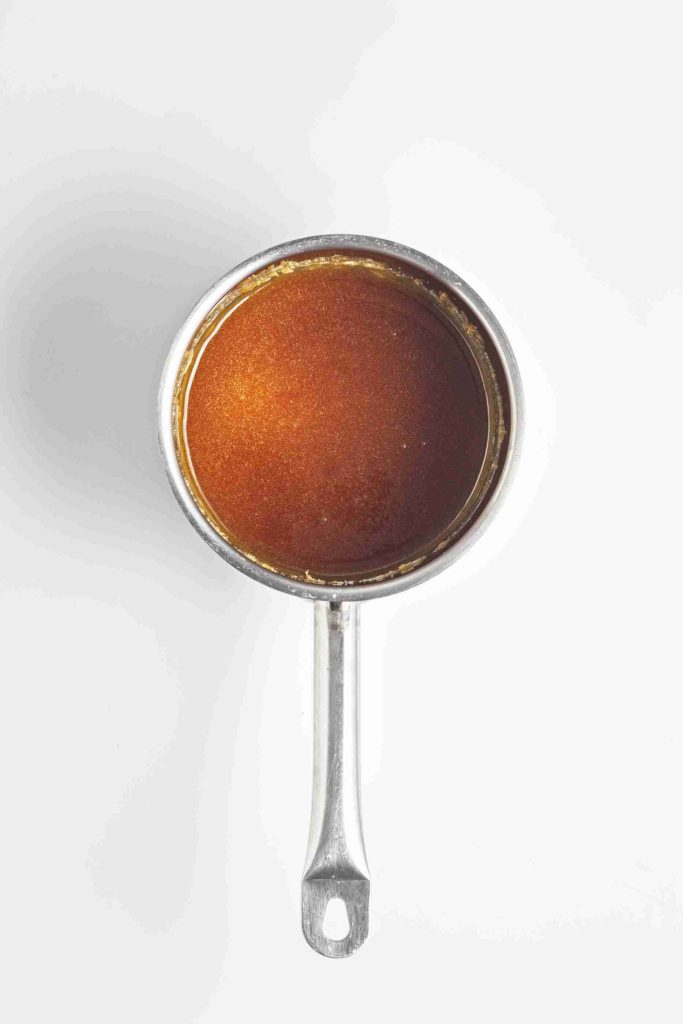
3. Check for doneness.
Once the sugar is fully melted, give it one more gentle stir with a silicone spatula or metal spoon to catch any last bits. You don’t need a candy thermometer for this, the color tells you everything: it should look completely clear and a dark golden amber. If it’s darker than that, it’s crossed into bitter territory. Toss it and start again rather than pushing forward, this isn’t a step you can rescue.
4. Combine.
Take the pan off the heat (leave the burner on) and pour in the warm coconut mixture. It will bubble up hard and throw a lot of steam, so stand back a little. Stir vigorously, then return the pan to the heat and keep stirring gently until every lump has dissolved back into a smooth sauce.
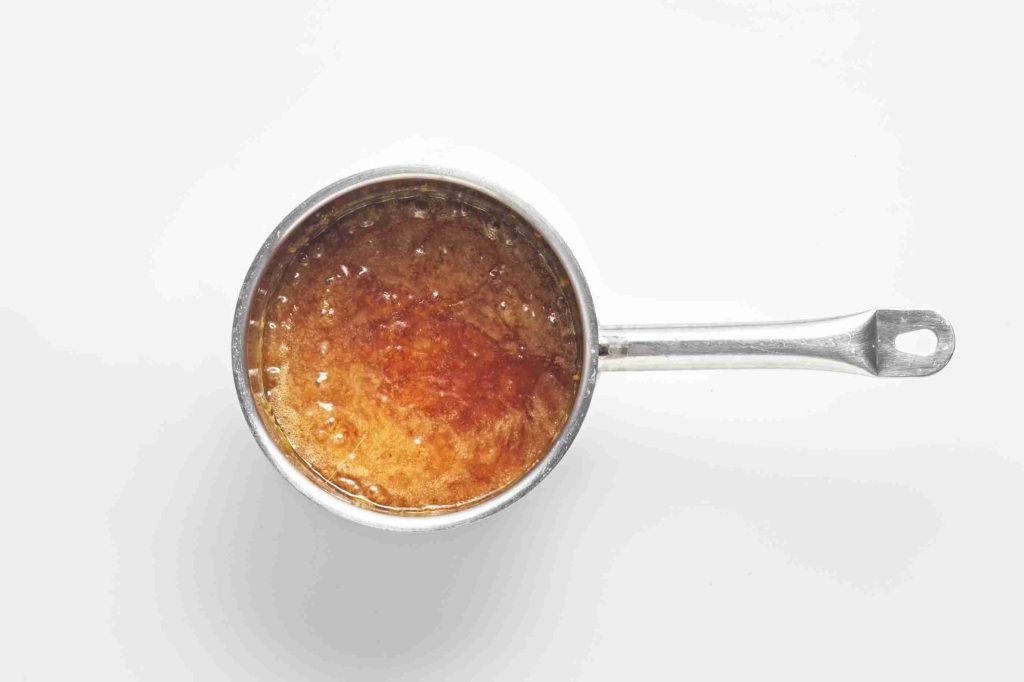
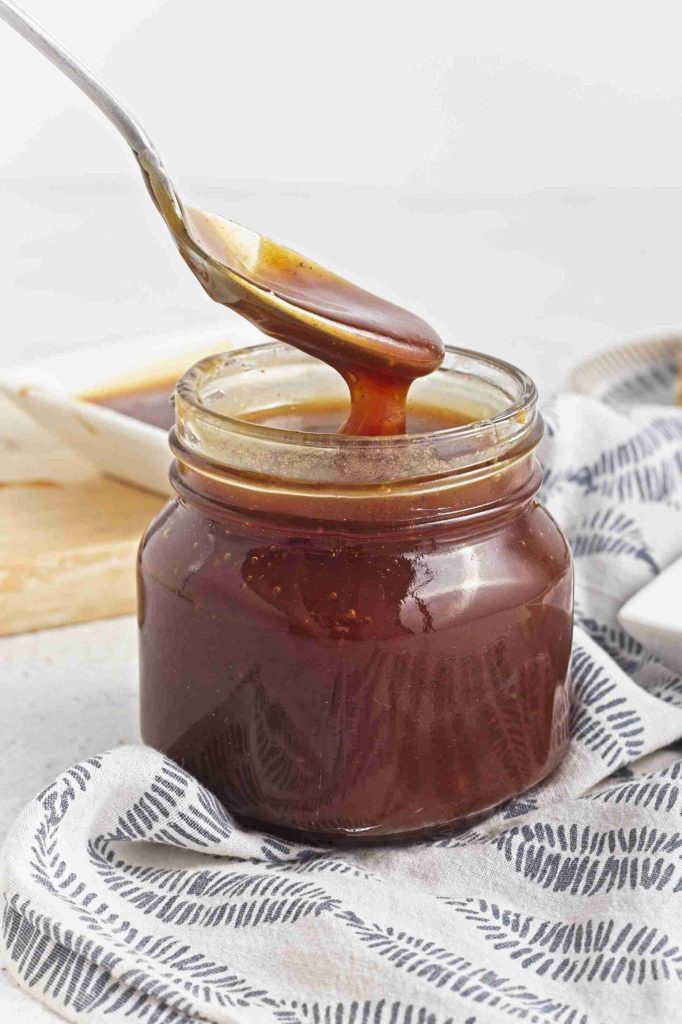
5. Thicken it if you want to. For a thicker sauce, good for dipping or drip cakes, let it simmer one more minute, swirling the pan instead of stirring.
6. Finish and cool.
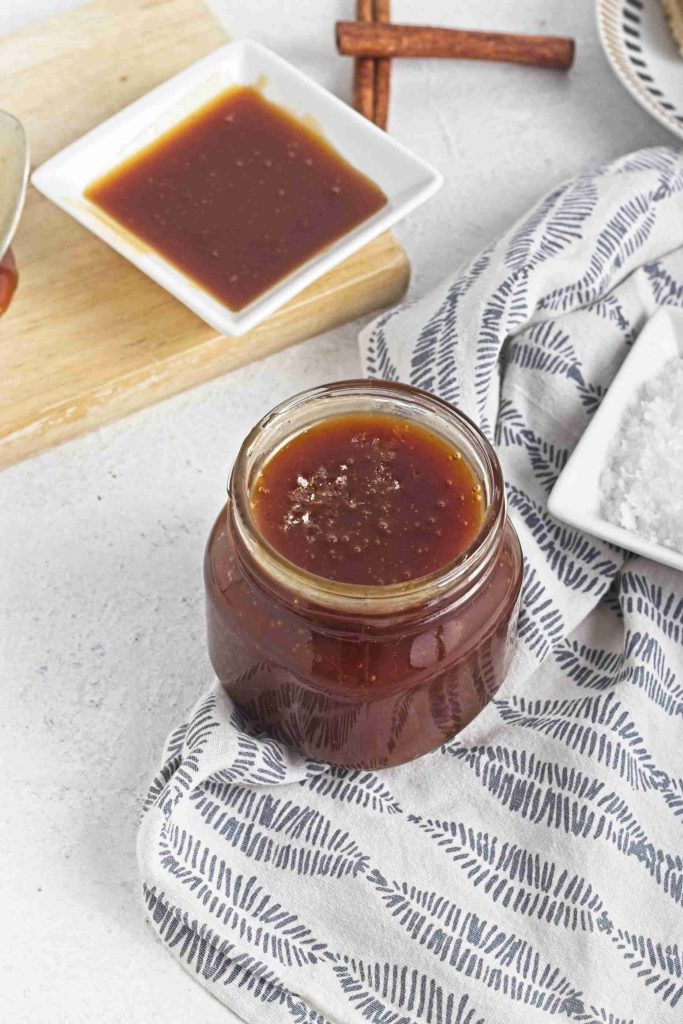
Pull the pan off the heat and let the bubbling settle completely before adding anything else. Once it’s calm, stir in the vanilla, salt, and cinnamon. Pour into a glass jar and let it cool fully before sealing.
7. Store.
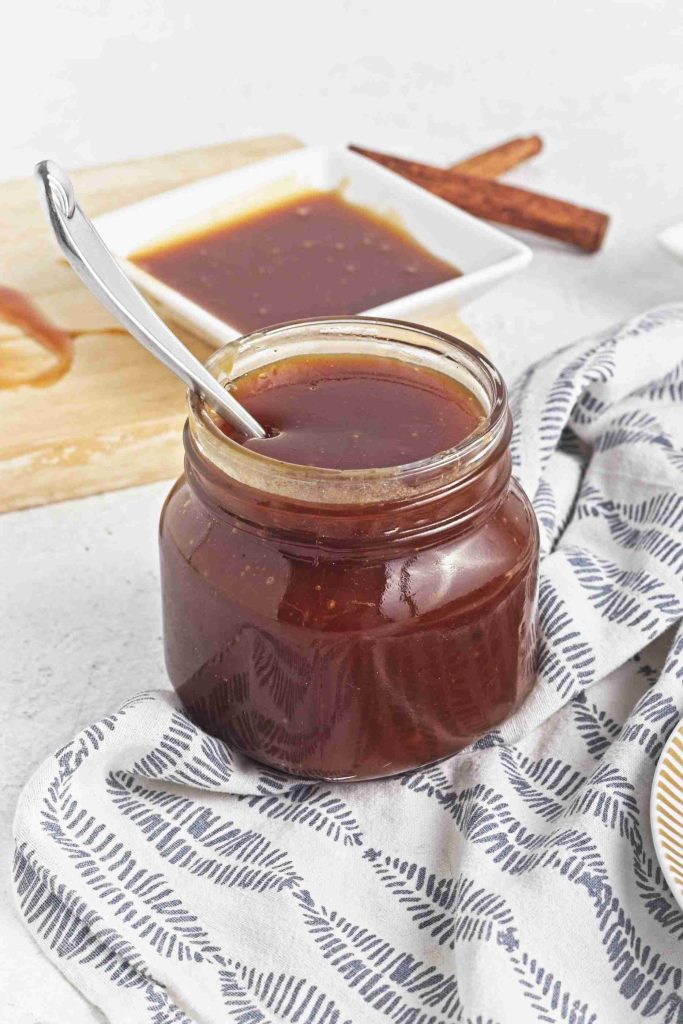
Keep it in the fridge for up to two weeks. It firms up as it chills, so give it a short stint in the microwave or set the jar in a bowl of warm water before using again.
Tips and Variations
- The dry method (melting sugar on its own, no water) is what gives this vegan caramel sauce its real caramelized flavor instead of tasting like sweetened coconut milk. It’s also why the crystallization risk above is worth taking seriously – it’s the tradeoff for the better flavor.
- Taste before adding the full teaspoon of salt. A pinch balances the sweetness, but if you want it more assertively salted, add it in small increments once the sauce has cooled slightly. You can always add more, you can’t take it back out.
- A splash of bourbon or a shot of espresso powder stirred in with the vanilla adds real depth without changing how the sauce looks in the jar.
- If it seizes into a hard, sugary clump when you add the coconut mixture, don’t panic and don’t toss it. Put it back on low heat and keep stirring patiently, it almost always smooths back out.
What to Do With This Sauce
Keep a jar of this in the fridge and you’ll reach for it more than you expect. Here’s where it goes first:

FAQs
Why did my caramel turn grainy or seize up?
Almost always it’s stray sugar crystals on the side of the pan getting stirred back into the melting sugar, or the coconut mixture going in too cold. Keep your stirring contained to the sugar that’s actually melting, and make sure the coconut oil and cream are warm (not hot, just not fridge-cold) before you add them. If it does seize, low heat and patient stirring will usually bring it back.
Can I use coconut milk instead of coconut cream?
Can I use coconut milk instead of coconut cream?
Yes, if you chill a can of full-fat coconut milk overnight and scoop off the thick layer that separates on top. That’s coconut cream in everything but name. Skip coconut milk straight from the carton or a can with emulsifiers added, since it won’t separate the same way and the sauce will turn out thinner.
Does this taste like coconut?
Barely, if at all. The vanilla, salt, and cinnamon are doing real work here, and once they’re stirred in, most people register this as caramel first and coconut a distant second.
How do I thicken it if mine turns out too thin?
Simmer it for an extra minute or two after combining, swirling instead of stirring, and it’ll reduce further and thicken more as it cools in the fridge. Caramel sauce always firms up more once it’s cold, so don’t judge the final texture while it’s still warm.
How long does it keep?
Up to two weeks in the fridge in a sealed glass jar. It thickens as it chills, so warm it gently in the microwave or set the jar in a bowl of hot water before using.
Related Recipes
If you make this, you might also like:
- Caramel Iced Coffee at Home, an easy way to put this sauce straight to work
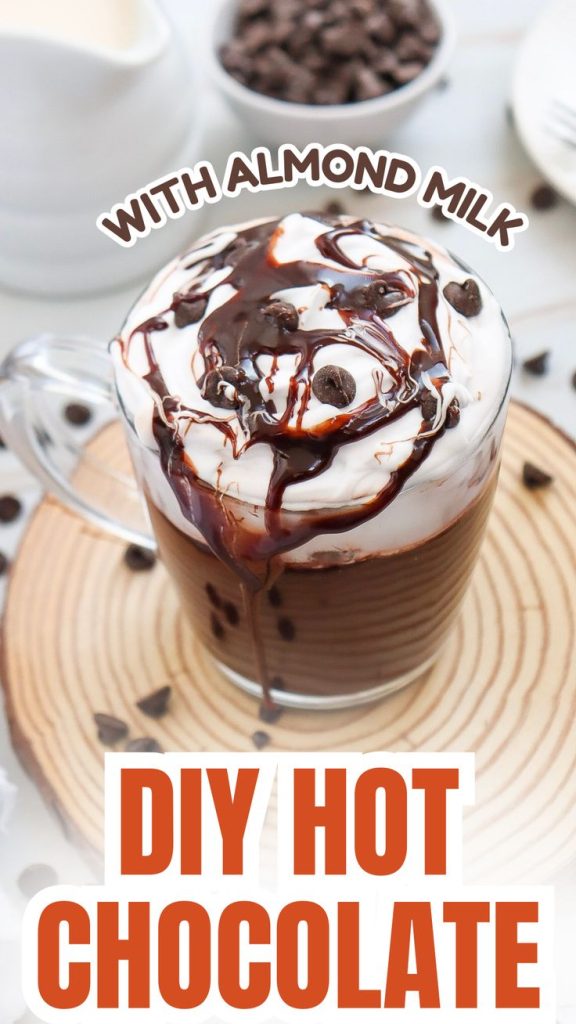
- Dairy-Free Hot Chocolate with Almond Milk, for a salted caramel upgrade
- Dairy-Free Pumpkin Spice Latte with Oat Milk, for a fall drizzle
One Jar to Keep Coming Back To
A good caramel sauce earns its spot in the fridge fast, and this one tends to disappear faster than you’d expect for something that takes fifteen minutes to make. Make a batch on a slow afternoon and you’ll find a reason to reach for it most days that follow: coffee one morning, a spoon straight from the jar the next. Save this one to Pinterest so it’s there the next time you’re standing in the kitchen wanting something warm and a little sweet.
Silky Vegan Caramel Sauce Recipe for Drizzling on Everything
Ingredients
- 1 cup granulated sugar 200g
- 2 tablespoons coconut oil 30ml
- ½ cup coconut cream (see notes below) 120ml
- 1 teaspoon flaky sea salt, plus more to taste 3g
- 2 teaspoons vanilla extract 10ml
- ¼ teaspoon ground cinnamon 0.5g
Instructions
- Warm the coconut oil and coconut cream together in a small pan over low heat until no longer cold. Set aside.
- Spread the sugar in an even layer in a medium, heavy-bottomed saucepan. Heat over medium until it starts to melt at the edges, then reduce to medium-low. Stir gently to redistribute as it melts, keeping crystals from the sides out of the melted sugar.
- Once fully melted, stir once more until smooth and clear, a dark golden amber. Discard and restart if it goes darker than that.
- Remove from heat, pour in the warm coconut mixture (it will bubble and steam), then stir vigorously. Return to heat and stir gently until smooth.
- For a thicker sauce, simmer 1 more minute, swirling instead of stirring.
- Remove from heat, let the bubbling settle, then stir in the vanilla, salt, and cinnamon. Pour into a glass jar and cool completely before sealing.
- Store in the fridge up to 2 weeks.